

The Pear Canning
As previously mentioned we have a very interesting looking pear tree on the property. The trunk is very strange in the way that it is an entire trunk at the very bottom, all cracked and hollow going up the middle, and then bursts out with a bunch of small branches up into proper tree limbs with leaves and tons of small pears. We’ve been waiting for these pears to ripen all summer and being first time pear harvesters we really have no idea what being ripe means. Our cousin told us that some pears need to ripen off the tree so once ours got to a size that appears “good” and started to get that typical pear coloration we picked them.
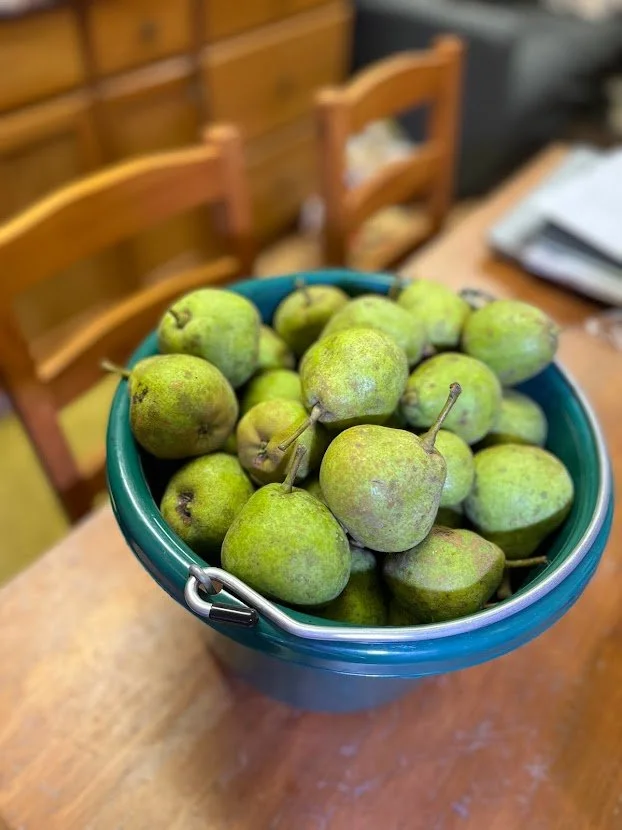
Well to be specific our buddy Josh picked them when he came over. Jaken loaded him up in the bucket and lifted him to the top to get all the good looking pears. Afterwards we let them “ripen” on the table for a few days before gathering the canning supplies. I didn’t have much in the way of supplies what with the move and just not ever having a need to can so we had to purchase some jars, lids, seals, water bath canner with a rack, a jar funnel, bubble remover, and jar lifter.
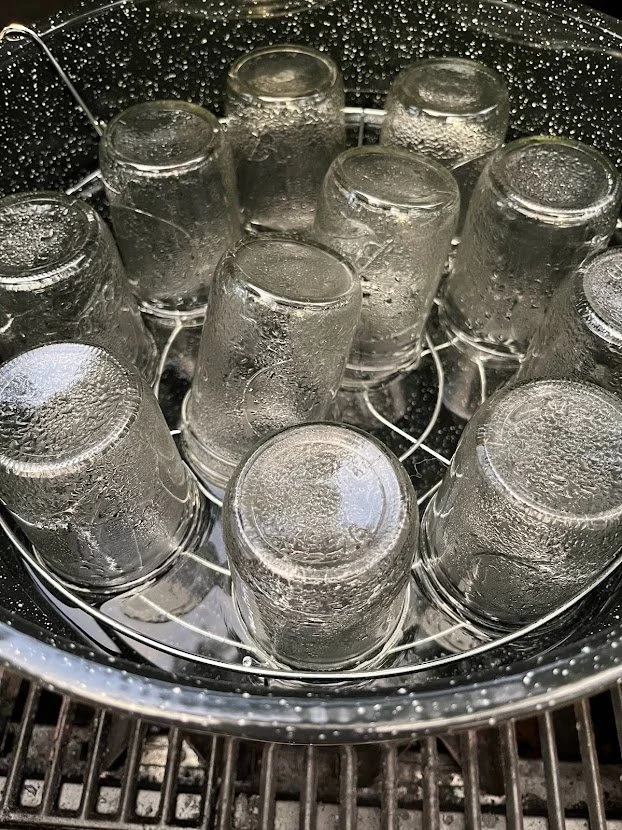
We started by peeling and chopping all the pears into halves or quarters depending on their size and then letting them soak in a lemon juice and water concoction to keep them from browning. Once they were all ready to go I got my canning station set up. Since we don’t have a proper stove in the trailer I decided to use the next best thing…the grill. I got my metal pot heating on one side with water and sugar for the syrup while the water bath canner took the other side and started heating the jars.
Once the syrup was ready I added as many pears as I could fit into the pot and let them cook for a few minutes. While they were heating I took the jars out of the canner and placed them on a table to prepare to fill. Using the funnel and a ladle I squished as many pears as I could into the jars while maintaining space at the top as instructed by the google link I found on how to can. After filling the jars with the pears I went back and added syrup to fill in the holes and used the bubbler to make sure, you guessed it, there were no bubbles. Next I wiped the edges clean and capped them all with seals and lids. Back into the canner they went, lid went on, and once I was confident we were boiling I walked away for a bout twenty minutes.

*We had several that didn’t end up fitting in the jars (note to self next time buy some more jars LOL). So we ended up bagging up the excess into freezer safe bags and tucked them away into the deep freeze for use in pies or desserts.
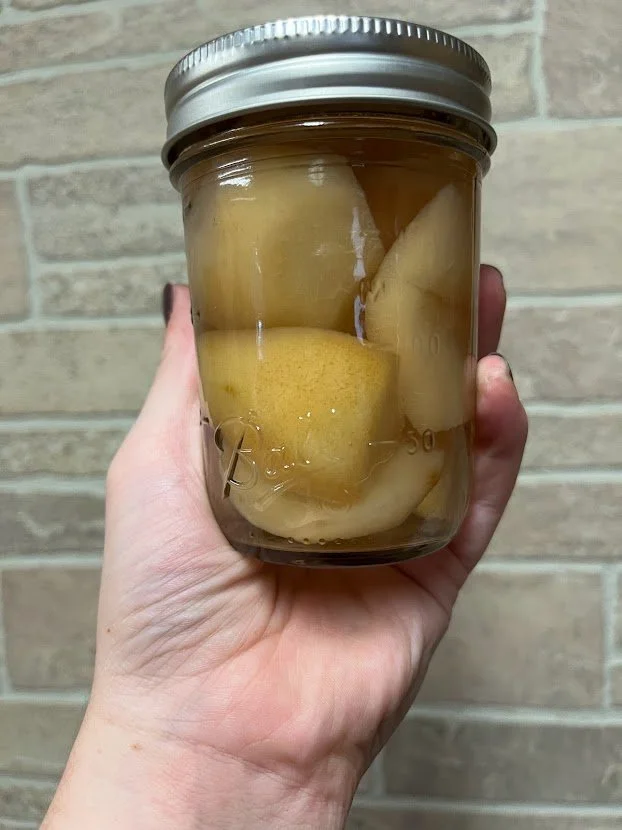
After the twenty minutes passed I turned off the burners and set each jar gentle on a towel to start the sealing process. A few minutes later I was thrilled to hear a small POP! It worked. It actually worked. Over the next several hours we continued to hear the little pops rewarding up for all of our hard work. I left the pears to do their work over night and the next day all the tops felt nice and solid with no bounce. Visually a success! I’ll let you know how they taste once I am brave enough to open them up and try one.
What I had convinced myself was going to be a several hours long ordeal did indeed end up taking a few hours to complete but wasn’t as scary as I was expecting either. I am sure next time I will get faster and more confident. I’m sure it will also help when little hands are able to occupy themselves for periods of time or even able to help.